
We did it! And its perfect and amazing! You know how at the beginning of every HGTV renovation show they say, “Oh and we will have your entire house completely redone in our 5 week timeline?” Well, I may not have renovated our whole house in 5 weeks (3 years and counting…), but the laundry area was sure done! Also, can I just say how impressed I am with all of the completed renovations done as part of the One Room Challenge? Everyone did so well! There are some seriously cool transformations done, be sure to check them out!
*This post contains affiliate links.
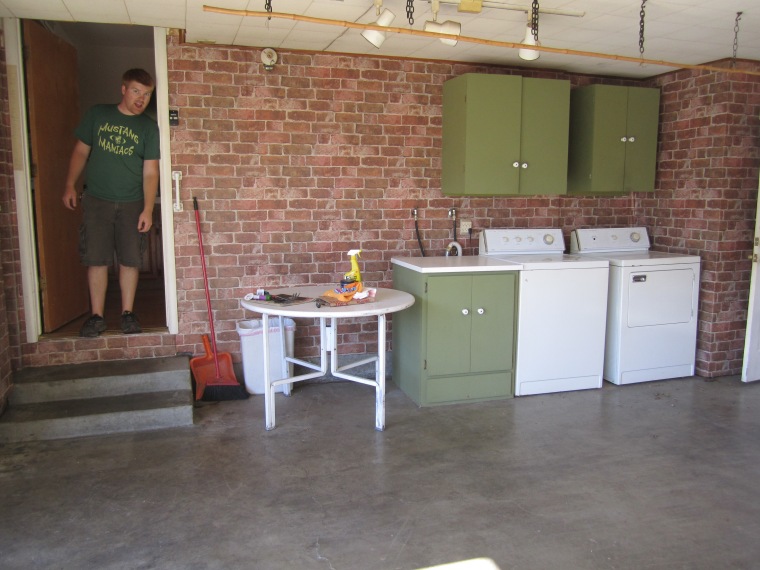
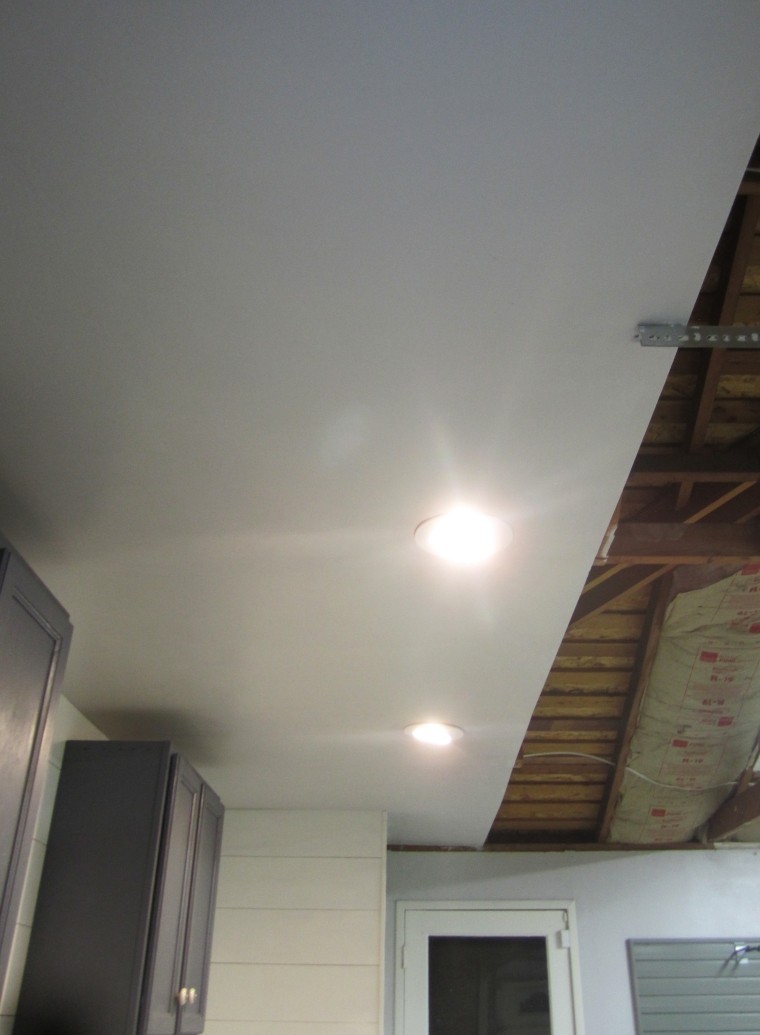
In case you need a reminder, here is a shot of our laundry area before we even moved in to the house.
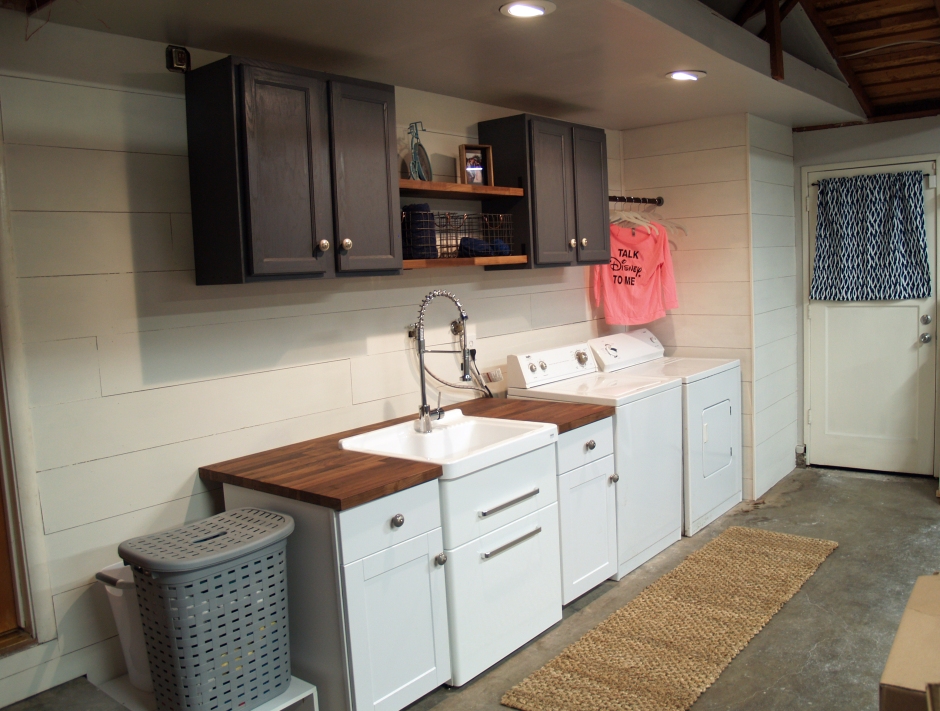
And now, I present you with the final space!

Before I could really start putting the space together I had to get the ceiling wrapped up. I sanded down all the mudding and painted it the same color as the surrounding garage walls. Even though it is a smaller space, my arms were still super sore and tired afterwards. I think I need to work out more or something. I am so happy that the paint was Valspar (from Lowes). It only took one complete coat and then just a couple of touch-up spots! The hubby popped in the lights once the paint was dry (I wanted to get them up right away, but he was the voice of reason saying to hold off for just a night) and aimed them towards the laundry space. We decided on directional lights since we didn’t care about lighting up more of the general garage area. Worked like a charm!
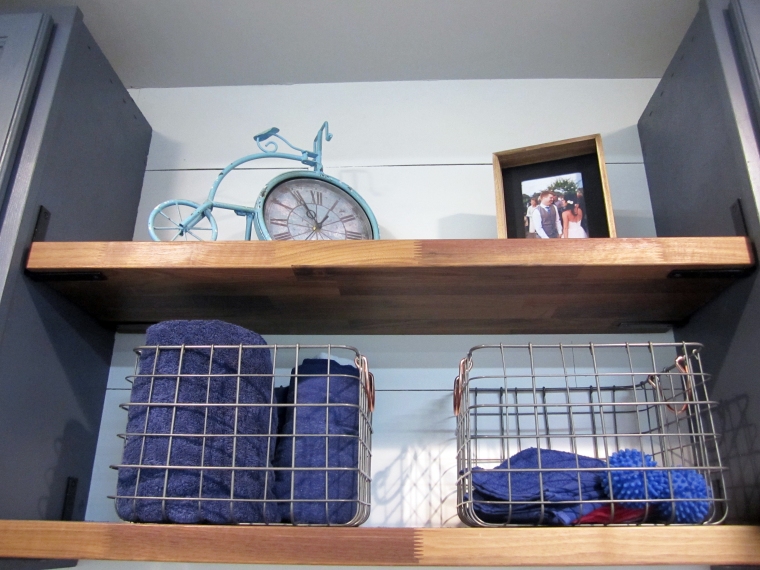
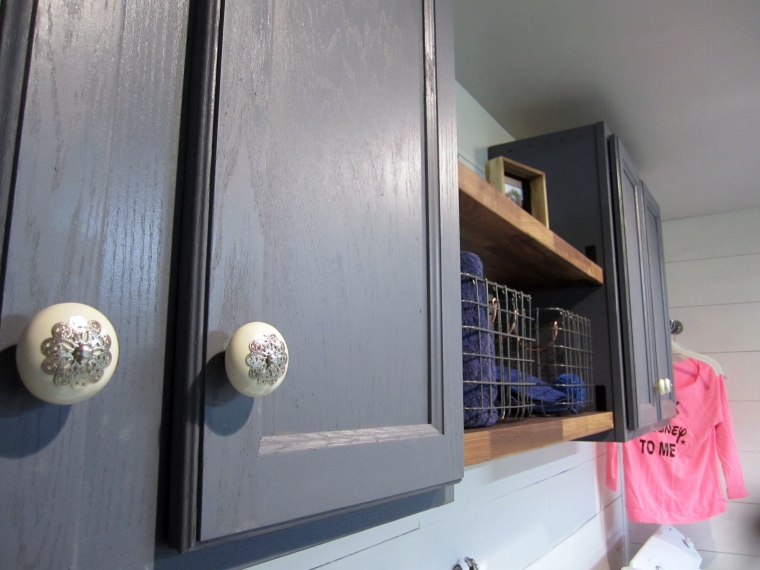
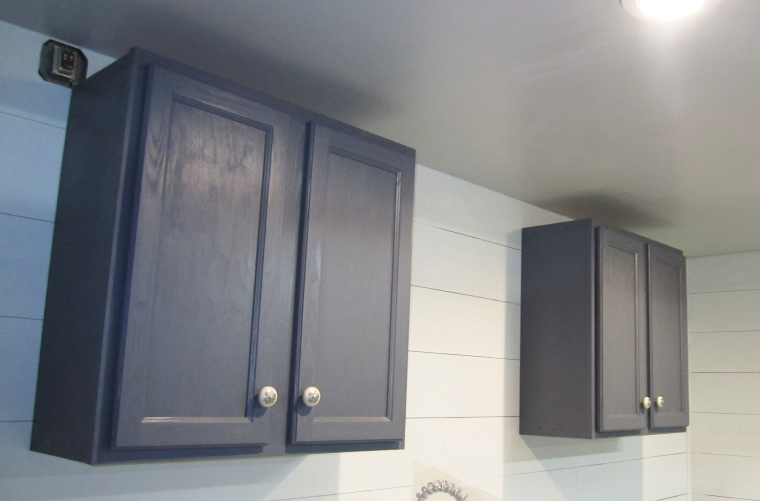
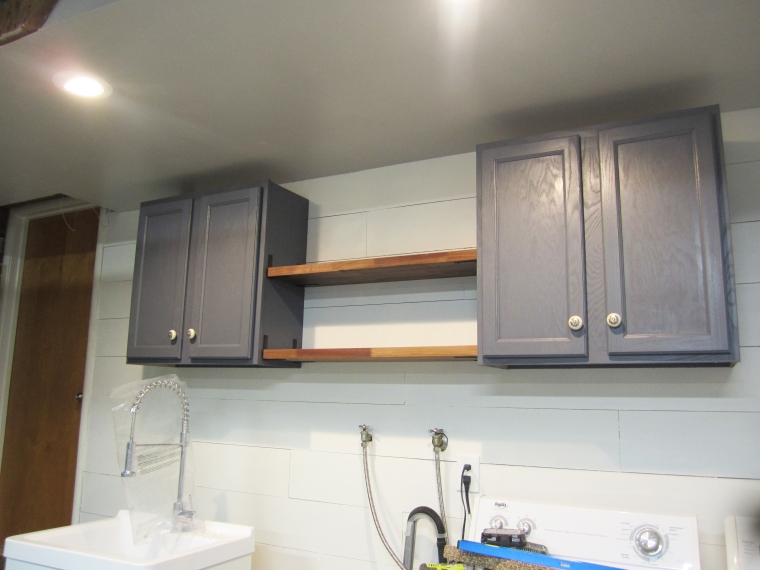
Then came the really fun parts! We hung up the cabinets! We measured everything out and marked the edges with painters tape. I wanted the cabinet on the right to line up with the washing machine since it worked well with that set-up for the past three years. It makes it easy to grab the laundry detergent if its right there. After getting that one hung we measured three feet to the left and hung the second cabinet. This kept the cabinets and shelving centered along the wall, and kept the perfect amount of space for the shelves. Once the cabinets were hung I added on the door knobs (which I had gotten years ago for some future project) and placed the shelves inside. So far so good!
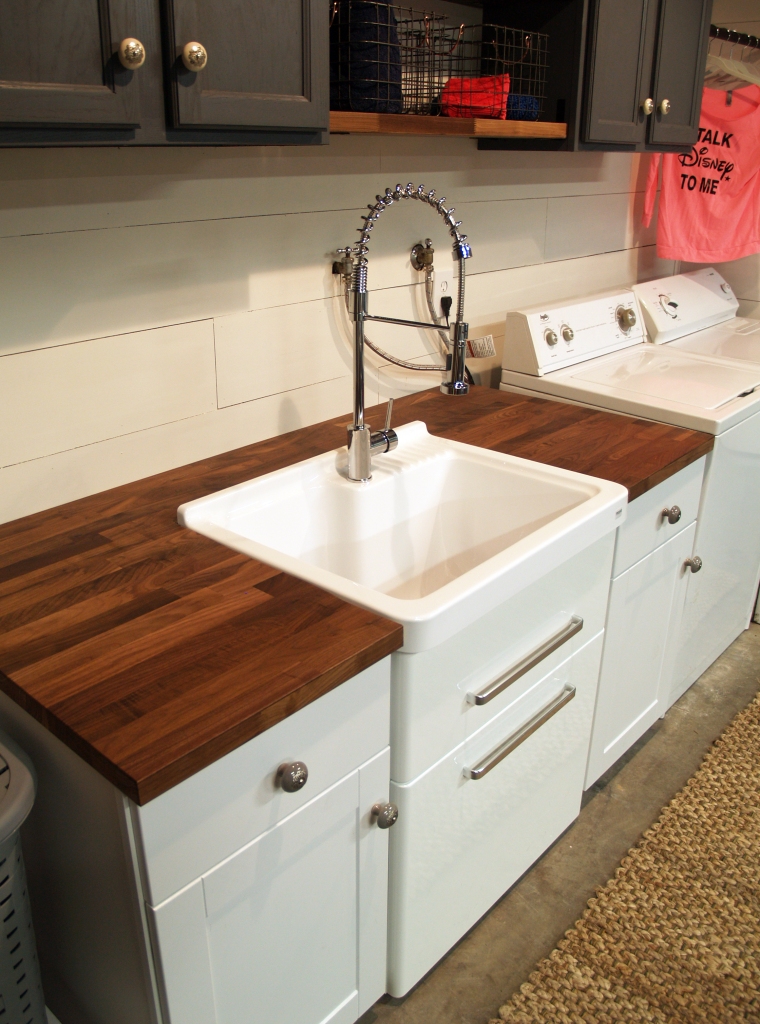
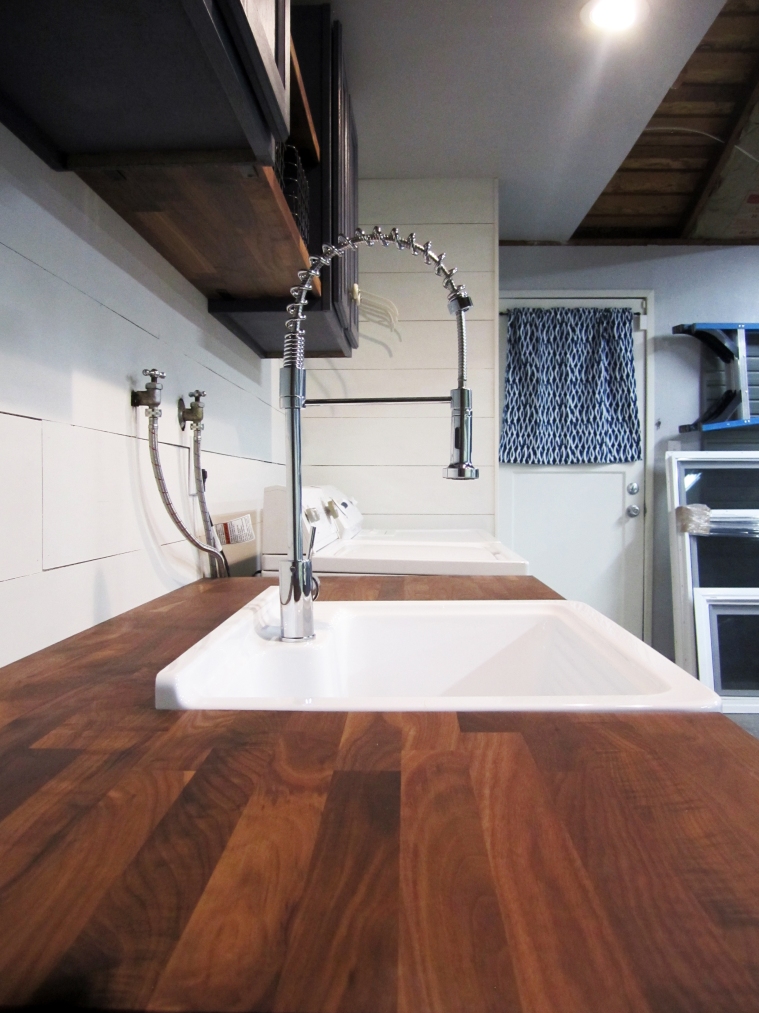
The next big part was the countertop. We bought a butcher board counter top at Ikea. I had no idea Ikea had countertops all ready to go! A lot of places we looked at had laminate countertops in stock, but they all looked very, um, 1990s (or 60s). I’d say we lucked out in this department! We bought a countertop made for an island so that it was deeper than we needed, and already had plans for the excess. The hubby and my dad used the table saw to slice off the back, and the hubby used a jigsaw to cut out the space for the sink. Then we laid it across the cabinets and called it done!
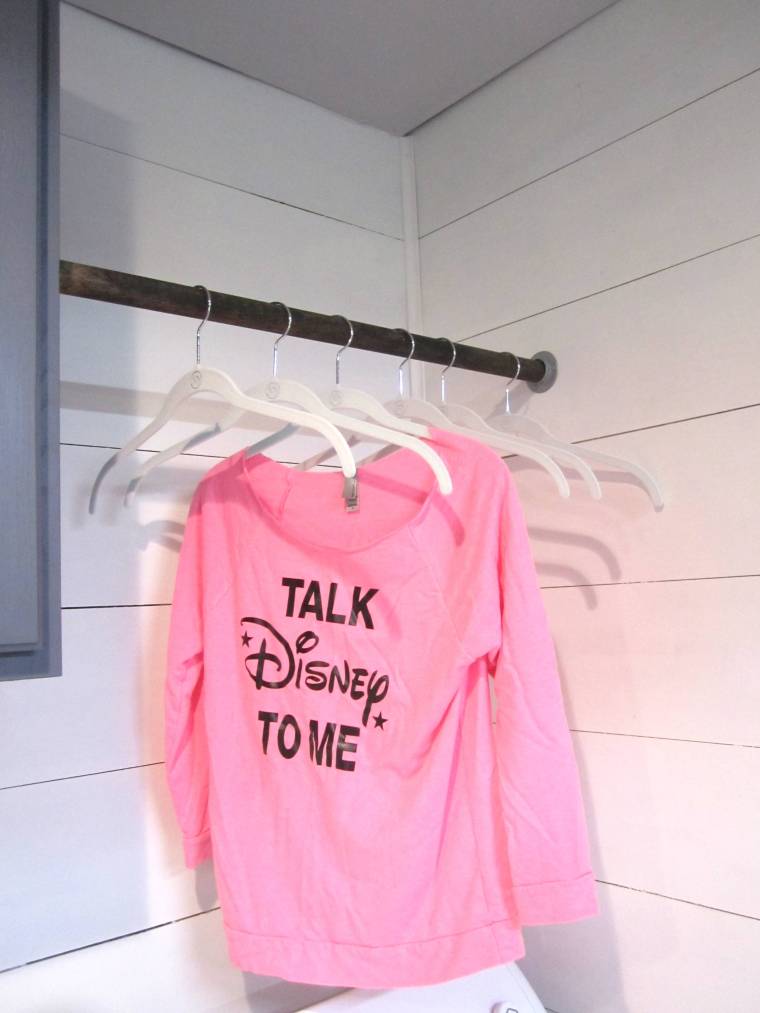
I also attached a hanging rod from the cabinet to the wall as a space to hang clothes to dry. We don’t hang much up to dry, but this will be much better than draping everything randomly around the house. My mom also mentioned that once I grow up I might start hanging more up. Hm…the verdict is still out on that one. After that it was all decorating!

I kind of loved the green cabinets, but this is such an improvement! So pretty! I have faucet envy!
Thanks! The cabinets sort of died in the process, but they had a long life!
Yes! This is one room I’ve been dying to see! It turned out beautifully Andi! Congrats on an amazing reveal!
Thank you! I’m glad you like it!
And also, I love your laundry room! The lighting is so perfect in there!
this looks amazing and gives me hope- we have a terrible basement laundry dungeon with concrete floors and cinderblock walls… this is stunning!
Thanks! Anything is possible with some imagination!