

Everything is coming together so perfectly! This week I was able to make a good amount of progress on the house dressings. The shutters are all done and ready to be hung and the planter boxes are well on their way. I love them!
Everyone who is taking on a project this One Room Challenge season has been doing such a great job! I kind of can’t believe how big some of these projects are that people are getting through. There are over 200 guests, so definitely take a look!
If you follow my Instagram, you know I’ve been having a few late nights making some of the fun decor items for the house. Since the beginning I knew I wanted our house to have wooden shutters and planter boxes. We decided on keeping everything pretty simple and letting the natural wood really shine. Also, I was able to just pick up a bunch of cedar fencing to use for everything, so that was awesome.
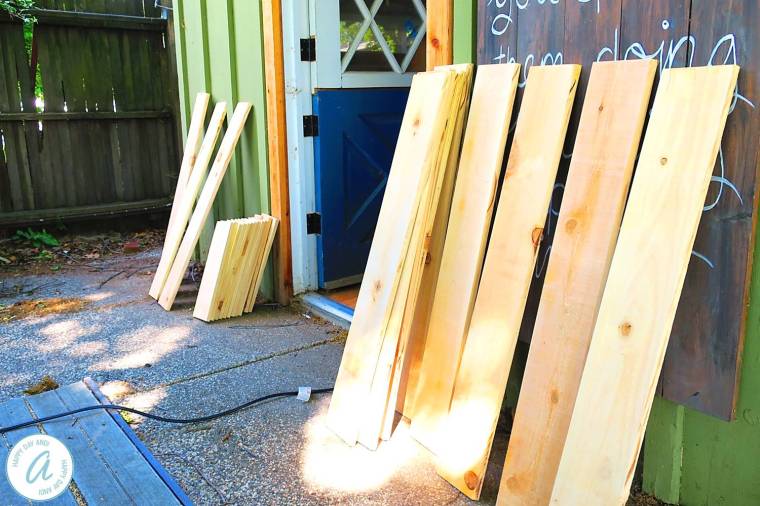
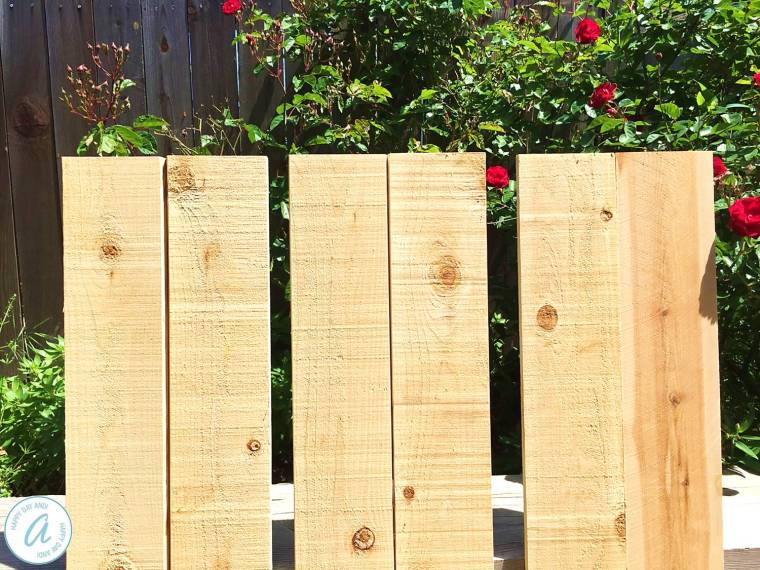
Like I said, everything used fence boards. I already liked the width of the boards for the shutters, and I also only sanded them down a little bit. Definitely didn’t want anything super clean. The hubby had a great idea to bevel the long edges of the boards to give them a bit of depth. He laid out a few options and we decided that the most dramatic bevel would be best. That way, you can see it whether you are standing right in front of our house or just passing on the street.
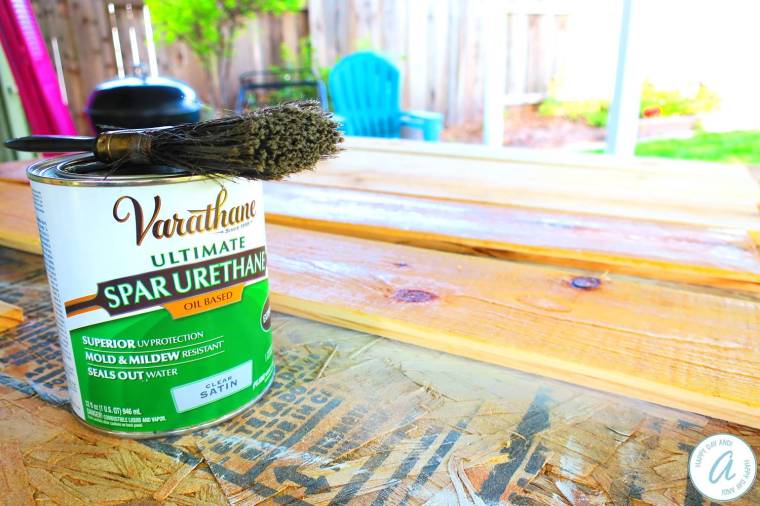
Once everything was cut, I used an oil-based sealant for the wood – Varathane Satin in case you are curious. And clear, so that the cedar would shine through. Side note: I decided I like how cedar ages better than redwood, so that’s how I chose between the two.
So, after I sealed everything I waited about 2 hours (until I couldn’t wait anymore and I didn’t care that the sealant wasn’t completely dry) and started putting each shutter together. The first one took a while, but once I got the hang of it, each shutter only took about 30 minutes. Someone *ahem, the hubby* reminded me to make sure everything was square. Such a perfectionist. Originally I was going to screw everything together with some exterior screws and then epoxy some decorative bolt heads to the front of the cross boards. But instead of cutting each bolt and then epoxying them onto the boards, I just used them as the fasteners. It could have been all of the paint and sealant fumes, but I thought that was an ingenious plan. Not a super obvious one like what I am thinking right now as I am typing this. Hm, I think there are still some fumes lingering around here…
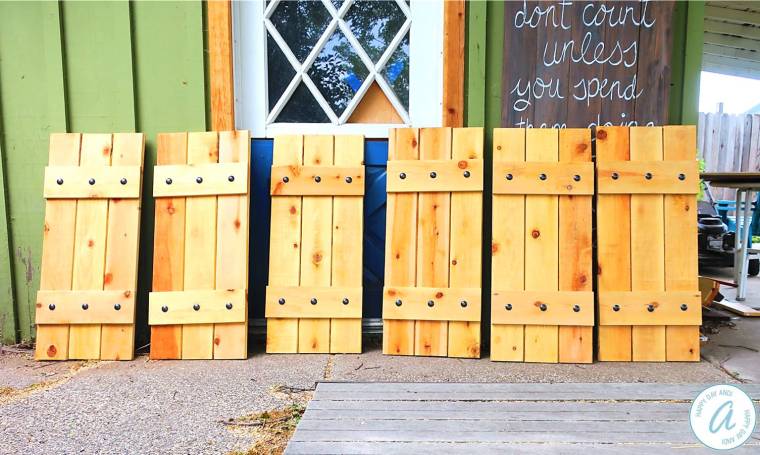
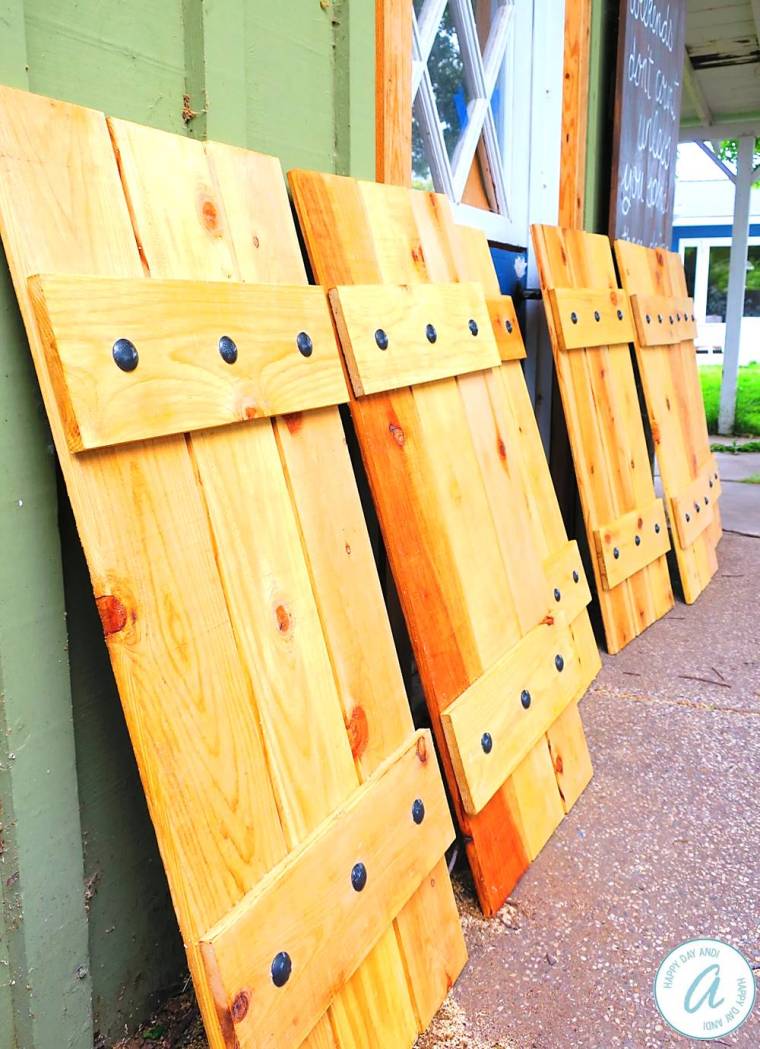
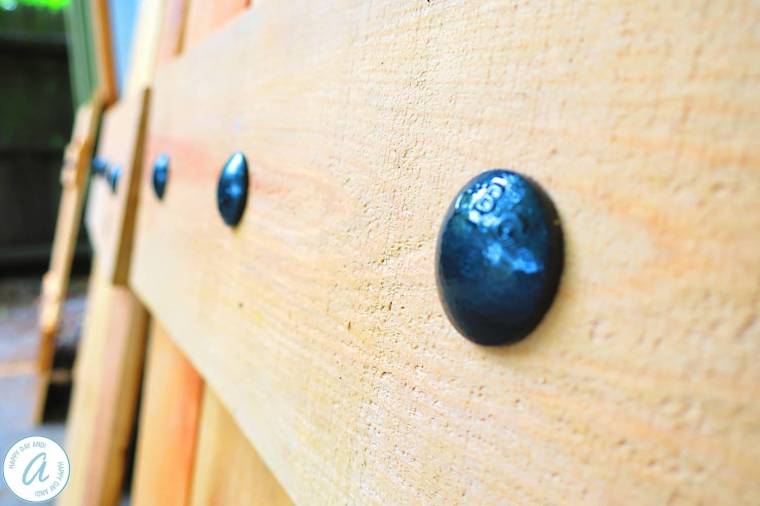
To get the look we wanted with the bolts, I bought 1/2-inch bolts with a nail end. I got to finally try out the hammered spray paint! It is so cool! It’s never going to look like the real hammered metal, but it’s pretty close. After those dried, I stuck them through the shutter boards and backed them with a washer and a nut. These shutters will never fall apart!
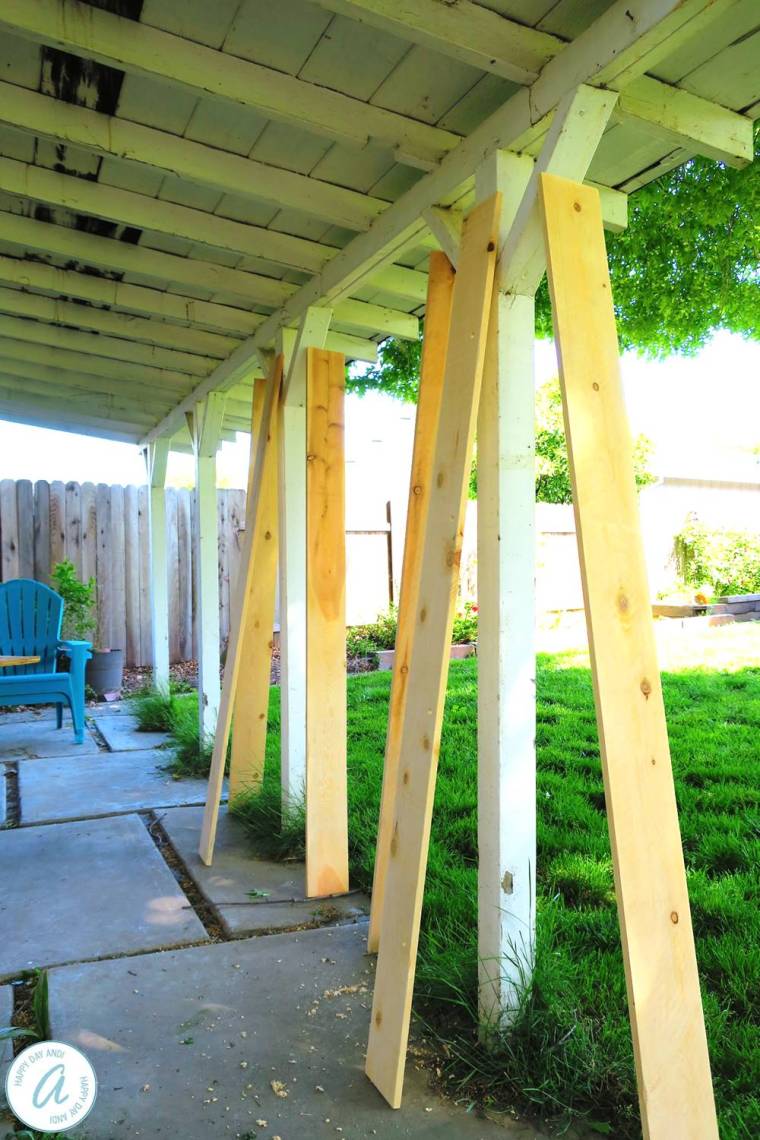
The planter boxes are all ready to be assembled, which I am hoping will be super quick. I used the same sealant as I did on the shutters to keep them consistent. I don’t want any supports showing, so I bought a few L-brackets that I plan on using for support. I am also super paranoid that I am going to get the boxes up and looking all pretty and then once I fill it everything comes spilling out. So I am attaching each side with L-brackets from the inside. So many advantages! You can’t see any screws or nails from the front, they are super strong, and the assembly should be pretty simple! Although, now that I am thinking about it, I could spray the brackets black and it would tie in with the shutters. Or kind of frame out the planter boxes with some trim to give them a little something-something? Stay tuned, I will have a decision asap!
Last but not least, our house got painted!! I want to save the overall shock for the big reveal in a couple of weeks, but let’s just say every time I get home I can’t help but smile!

Those shutters look amazing! Can’t wait to see what color your house is!!
Thank you!! I’m kind of in disbelief about how much I like them!