You know those projects that you think will only take a week – max – and then they seem to drag on forever? This is one of those. Granted, I’ve only been working on it for two weekends now, but I just want everything to be finished! What’s this project you ask? My new window for the craft room!
A while ago I got a set of old french doors off of craigslist for $60! I’m only using one of the doors for the window, so I will have to figure out something else for the second door. Any ideas, let me know! Now that I have some time, I am finally able to get cracking on it! First thing I needed to do was to sand off all of the old paint. One side of the door was a forest green color (completely matched the color of our house) and the other was white. I wanted to stain it a dark walnut color, since that is my favorite stain ever. Eventually I am going to paint the exterior of the craft room like a creamy white, and I want to add fake wooden shutter on the side of the window, which will also be walnut. First I need to get the window in, of course.
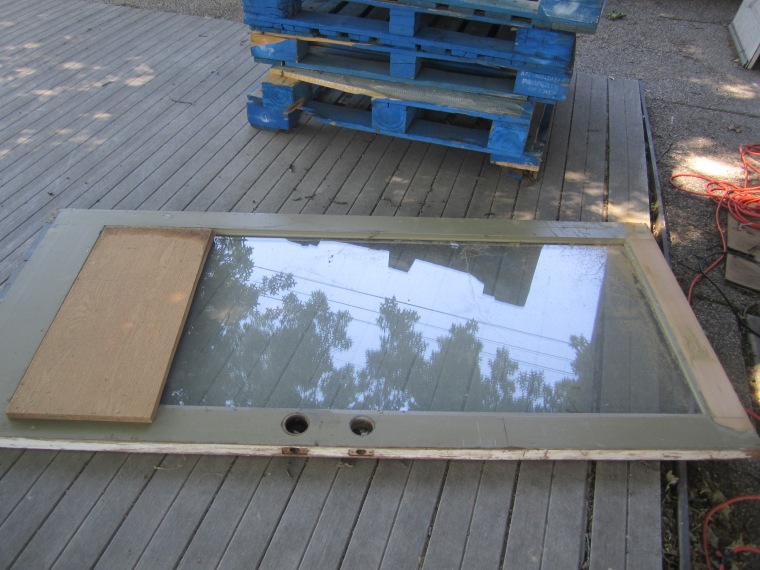
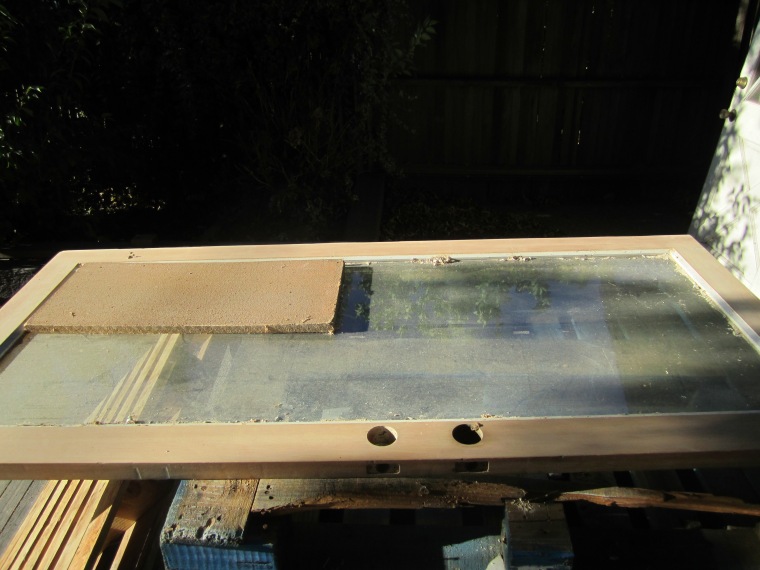
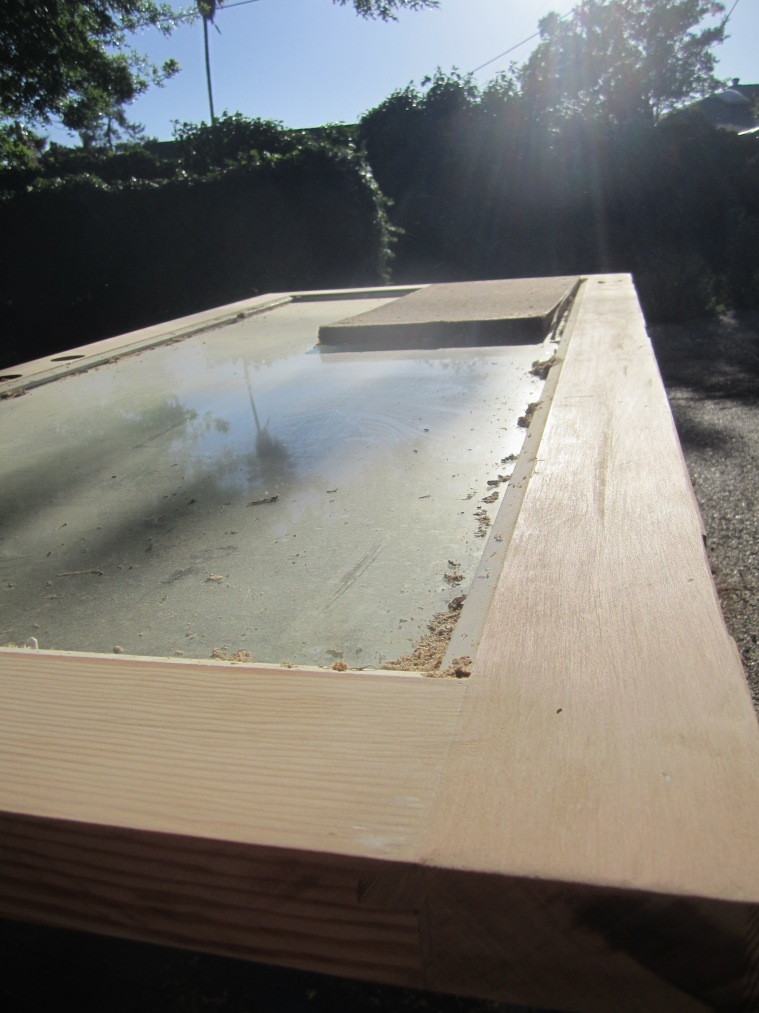
Once I had the flat part of the frame sanded, I knew it would be impossible to sand down the thin, rounded edging that is directly on the glass. So I roughed that up just a little bit and decided to paint that part white to match the eventual color of the room. The future hubby said it makes the window appear even bigger. Yeah, that’s totally what I meant to do, it wasn’t out of ease at all…
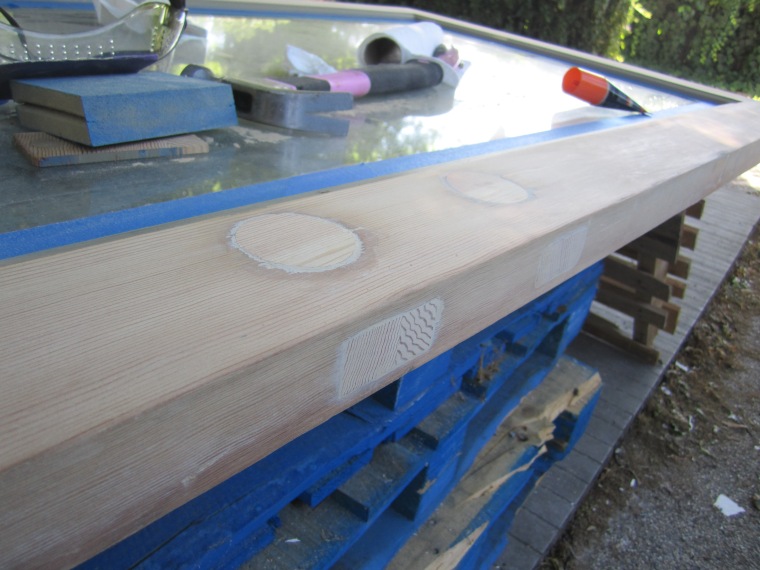
Once I had everything sanded I needed to fill in the holes where the door knob used to go. I figured that they don’t make dowels big enough for that (I didn’t even check, maybe they do), so I used my jig saw to cut out circles and then used a belt sander to make the circles fit almost perfectly in the knob holes. Of course, there were a couple of gaps, but nothing a little wood filler couldn’t handle. I sanded that area back to being nice and flush and smooth, and then I was ready to paint!
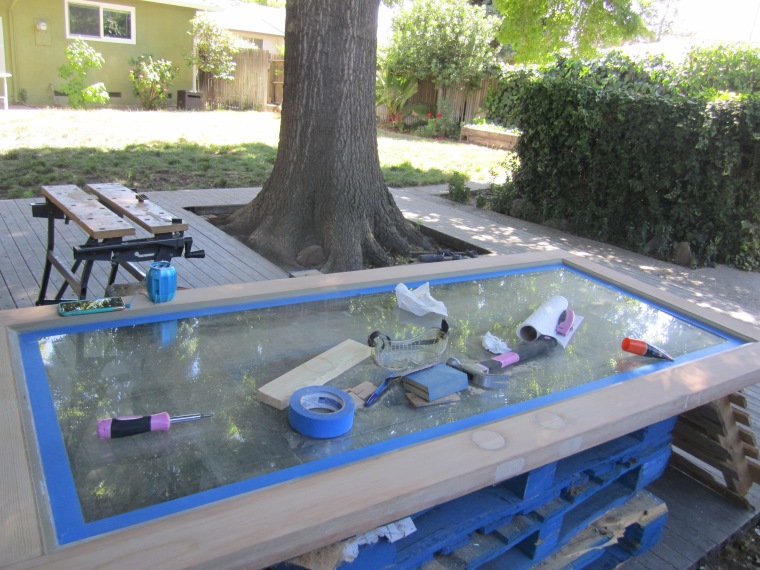
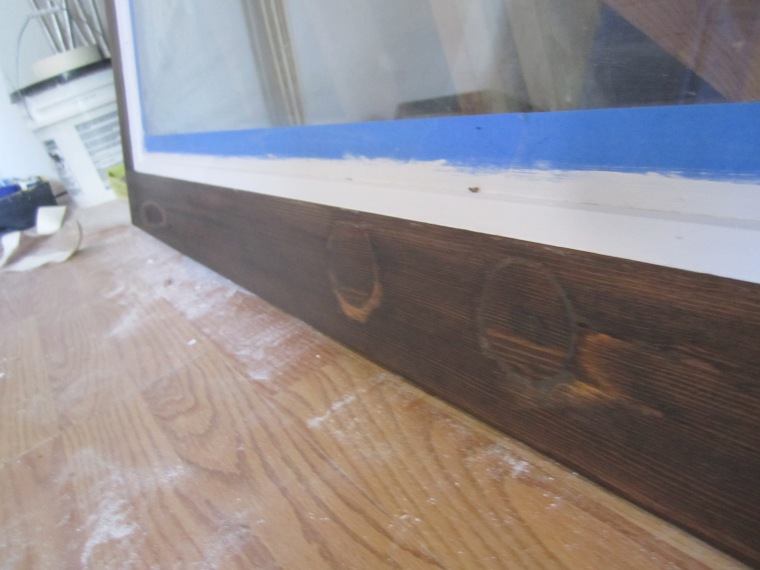
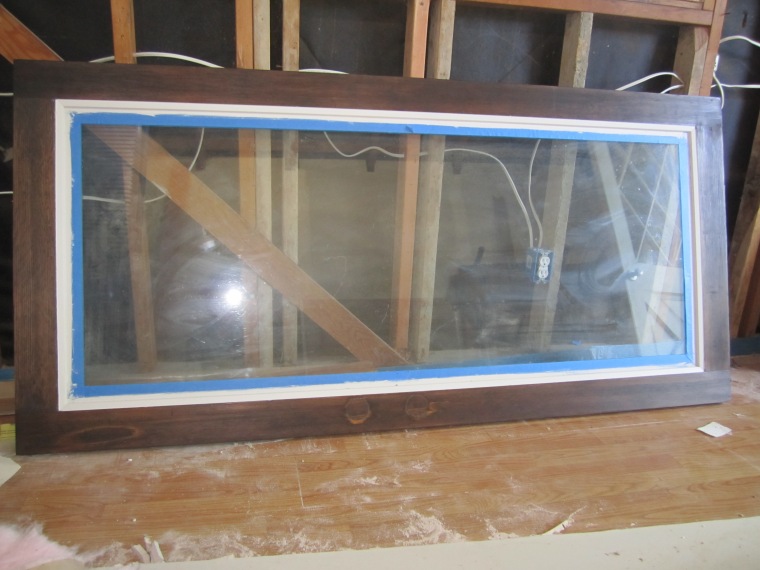
I decided to paint the white inner frame first. I taped the edge of the glass, but didn’t worry about the flat part of the frame. I figured I would just go back and re-sand anywhere I got white paint, which worked out pretty well.I only needed two coats of paint on either side of the door, and I left it to dry overnight. You know how sometimes after you paint something it stays just a tiny bit tacky for days on end? I thought that was going to happen, so I originally thought I wouldn’t tape the white part and just be really careful with the stain. That is a big mistake. Luckily I didn’t get too far, and since I let the paint dry outside, the paint wasn’t tacky AT ALL. I couldn’t believe it! So I taped the white frame and then stained everything. You can definitely tell where the door knob and lock used to be, but I figure I will just put my window handle there to cover it up a bit. So far I am loving how it is turning out! I am just going to lay on a couple of layers of protective polyurethane to keep everything in good condition, and after that, it is ready to be installed! I will keep you posted!


One thought on “Window – Part 1”