

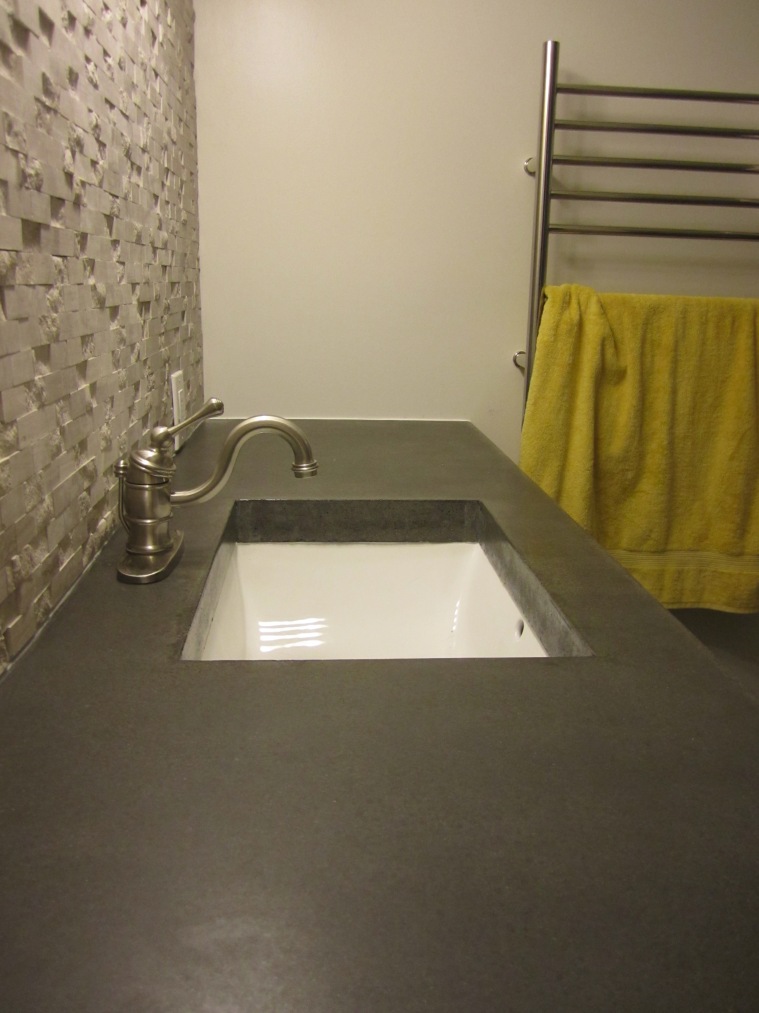
I feel like it has been forever since I last posted! I think I currently have three projects going on. Because, you know, I have no focus. Oh well, such is life! Last night we hit a huge milestone…we finished out countertop! I have to be honest, the hubby did most of this work. He had experience with forming concrete from his college days as an architecture student, and I was super nervous that if I touched it, it would break. By the way, this thing will NEVER break. I did help out a bunch though!
Way back when we started this whole bathroom reno, we kind of had a general idea of what we were looking for. We knew we only wanted one sink, and with a 71-inch space, that is pretty hard to find without going custom. We did look into custom countertops too, but that was way out of our budget. Wooden countertops are super cool and would probably be the cheapest option, but we figured that would be a mistake in a bathroom. Especially the main bathroom we use every day. Then we started looking into concrete. There are a ton of options with concrete countertops. It’s like a whole new world of options! We decided to go pretty simple. The hubby found a place with different color options that would dye the concrete, and we decided to just make it slightly darker than natural concrete. It’s like he always tells me, we can add color with decorative touches that we can change out if we want to.
To start, he made a few test forms using melamine boards so that we could see the different shades of gray depending on the amount of color added. It’s crazy how little color it takes to change a whole batch! We decided to try to replicate the middle shade. The darkest shade looked slightly blue in the bathroom, and the plain concrete color just looked too, well, plain. He made the real form (also using melamine board) and then added rebar to it. I did help with this part! There is so much metal in this countertop…
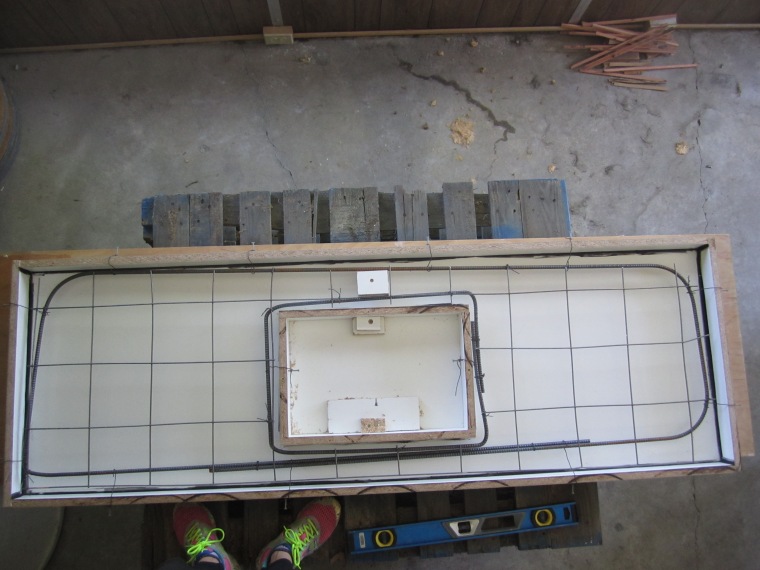
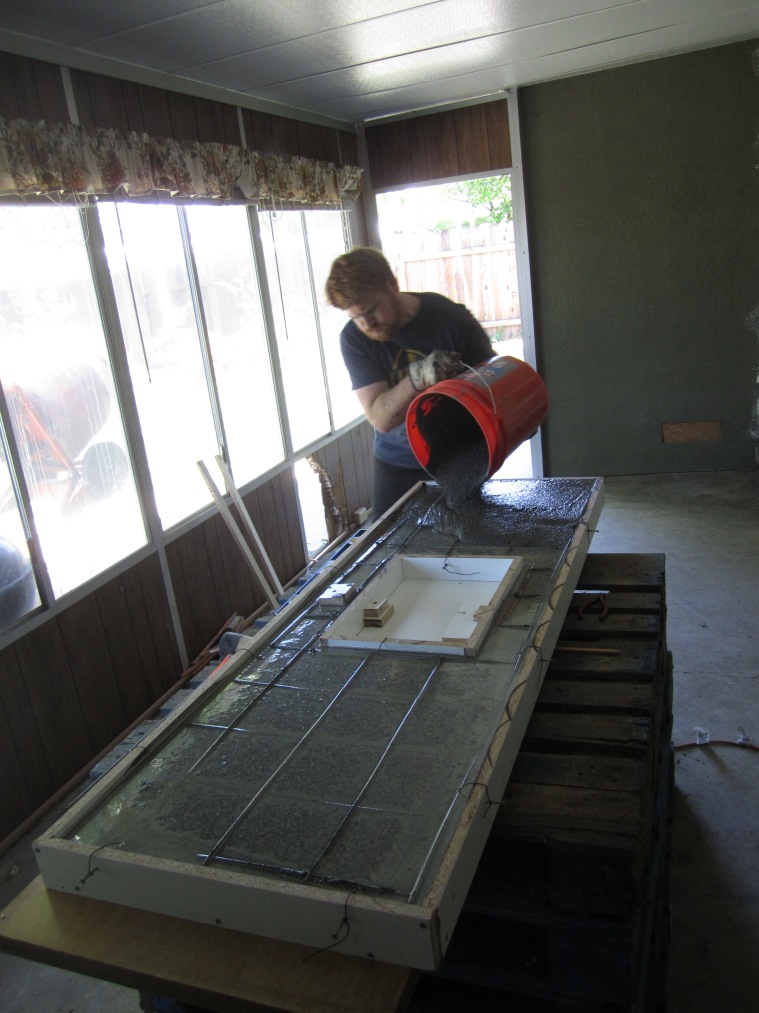
Then we got to pouring! We only needed 3 ½ bags of concrete to complete it. We made it super runny to try to get all of the air voids out of the concrete. Worked like a charm!
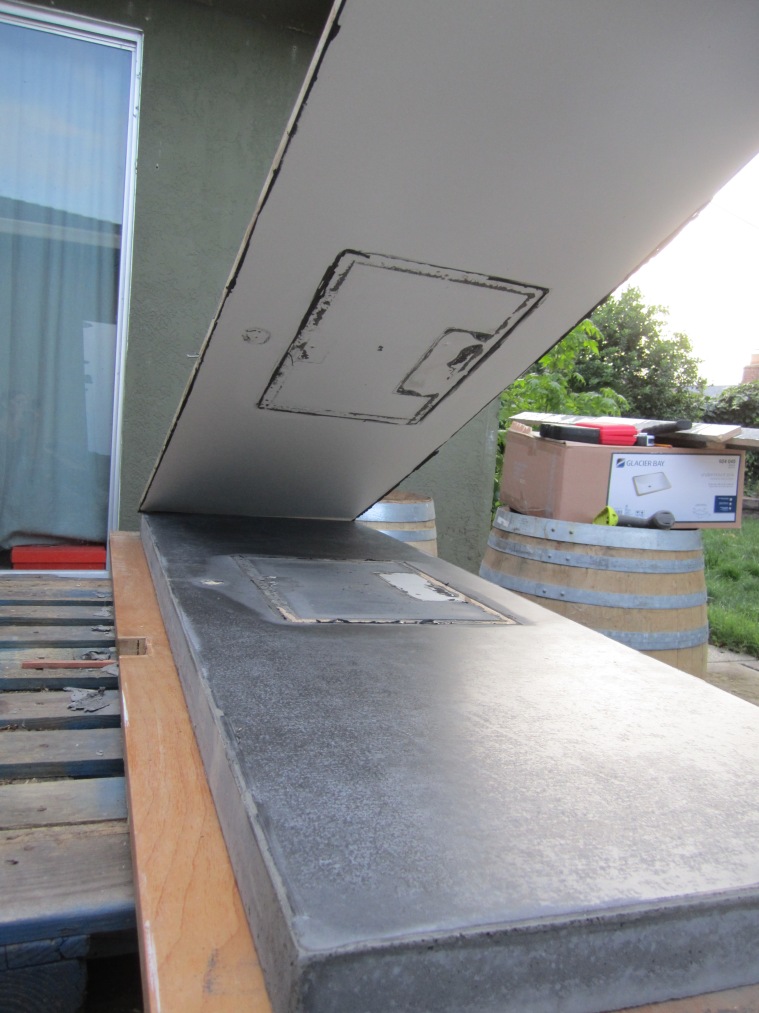
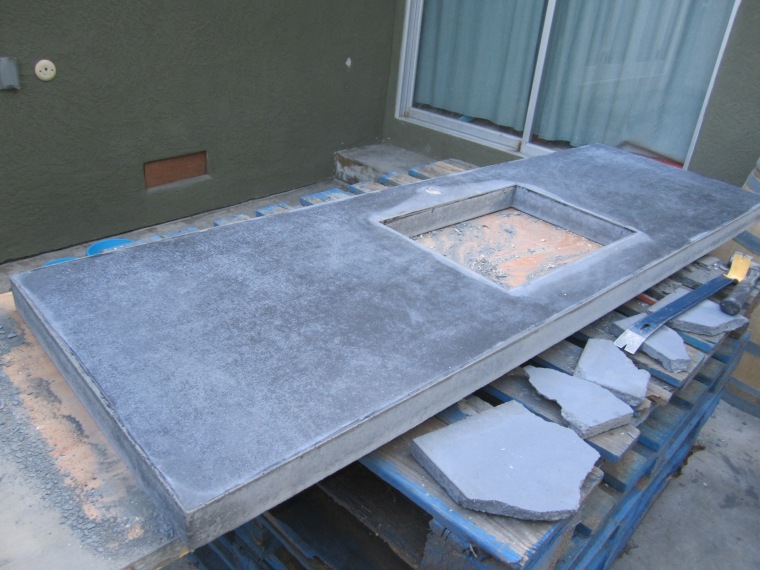
After it dried for a few days, the hubby polished the entire countertop. He polished it so that some of the sand grains from the concrete mixture showed through and added a bit of depth to it. By doing this, it he made it super smooth. Like, it feels like granite. It’s crazy!
Then came the super fun part. The hubby and my dad carried the countertop from our patio into the bathroom. I had 911 on speedial in case they dropped it on their feet or anything. I had made a little make-shift stand for them to rest it on once it was close going in. Then, they just kind of nudged it little by little. And nobody got hurt!
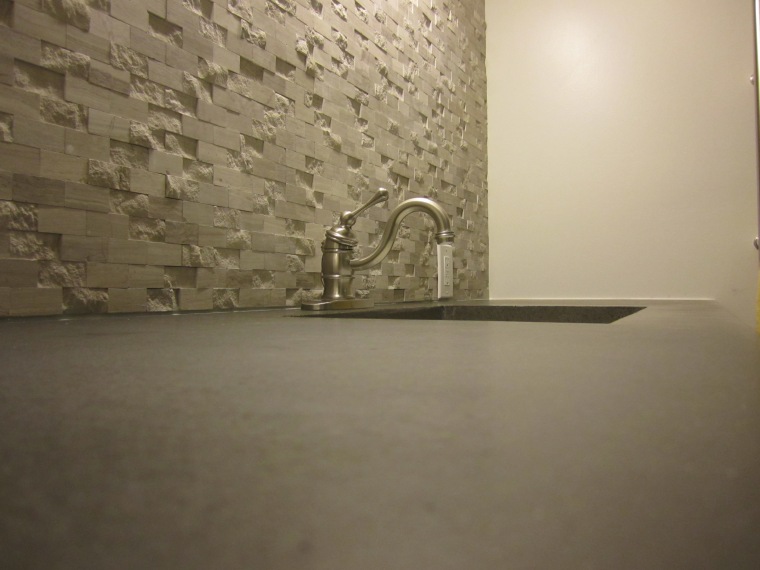
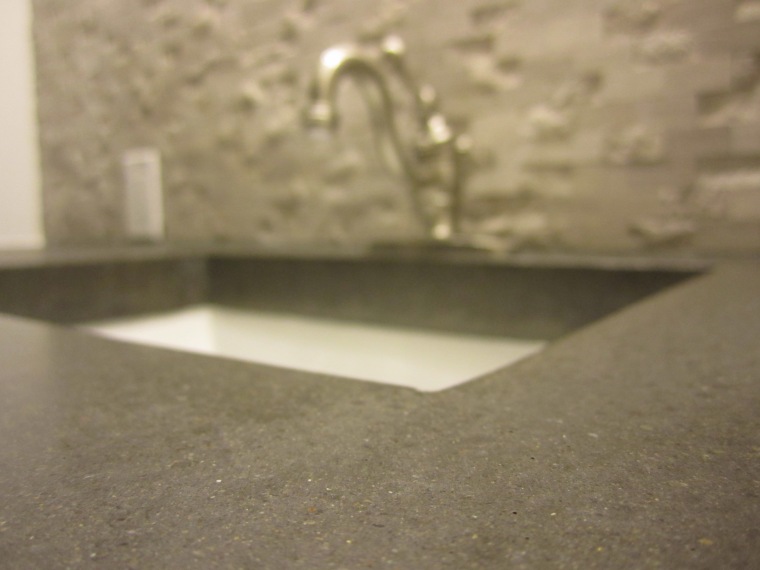
We sealed the concrete to make it completely waterproof, and then tested it out by dripping some water on it and making sure it just puddled up instead of seeping into the concrete. We pushed the countertop all the way in, and then sealed all of the edges. Lastly, we installed the faucet and the sink! To be completely honest, the sink is currently being held up with my car jack because the brackets it came with coincidentally line up perfectly with a support in the vanity. The hubby already has a plan to fix that, and from the top you can’t even tell!

I am about to remodel the kitchen of a house I about to close on and I didn’t even think about concrete! How much would you roughly say it cost you to do that counter top, cause that is basically the size of one side of my kitchen!
How exciting! It cost us about $180 not including the admixture or the polishing tools. The admixture was about $80, but you definitely don’t need it. We just wanted to make sure it was as strong as possible. I’m not sure how much the polishing tool would be to rent since we luckily had a friend who owns one. The total area was almost 11 square feet, so about &17/ square foot. I would suggest pouring it in place if you have an area any larger. This chunk of concrete was heavy! I can’t imagine lifting anything bigger and not breaking someones back 🙂 Good luck!